Finding a fake tan that doesn't look, well, fake is basically a quest. The market is flooded with products, half of them promising "natural bronzed goddess" and delivering "Oompa Loompa at a rave." But great fake tans do exist — products that give you believable, beautiful color without UV exposure. You just need to know what to look for and what to avoid.
Whether you're a self-tan beginner or a seasoned pro looking for your next holy grail product, here's everything you need to know about choosing a fake tan that actually delivers.
What makes a fake tan look natural (or not)
The difference between "wow, where did you go on vacation?" and "wow, you're kind of orange" comes down to a few things:
DHA quality: DHA (dihydroxyacetone) is the active ingredient in every self tanner. It reacts with amino acids in your dead skin cells to create color. Cheap DHA tends to lean orange. High-quality DHA develops more golden to olive to brown, depending on the formula. This is the single biggest factor in how natural your result looks.
Undertone: Better formulas include color correctors — green or violet pigments that counteract orange and give a more realistic, warm-brown result. If a product mentions "olive," "cool," or "violet-based" DHA, that's a good sign.
Application method: Even the best product looks bad if applied poorly. But some formulations are more forgiving than others. Mousses blend easily. Gradual lotions build slowly and are hard to mess up. Liquids and concentrated drops require more skill but offer the most control.
Development time: Quick-develop formulas (1-3 hours) tend to be lighter and more natural. Longer development (6-8 hours) goes darker but has more room for error. Express formulas are great for beginners because you can shower sooner and build up.
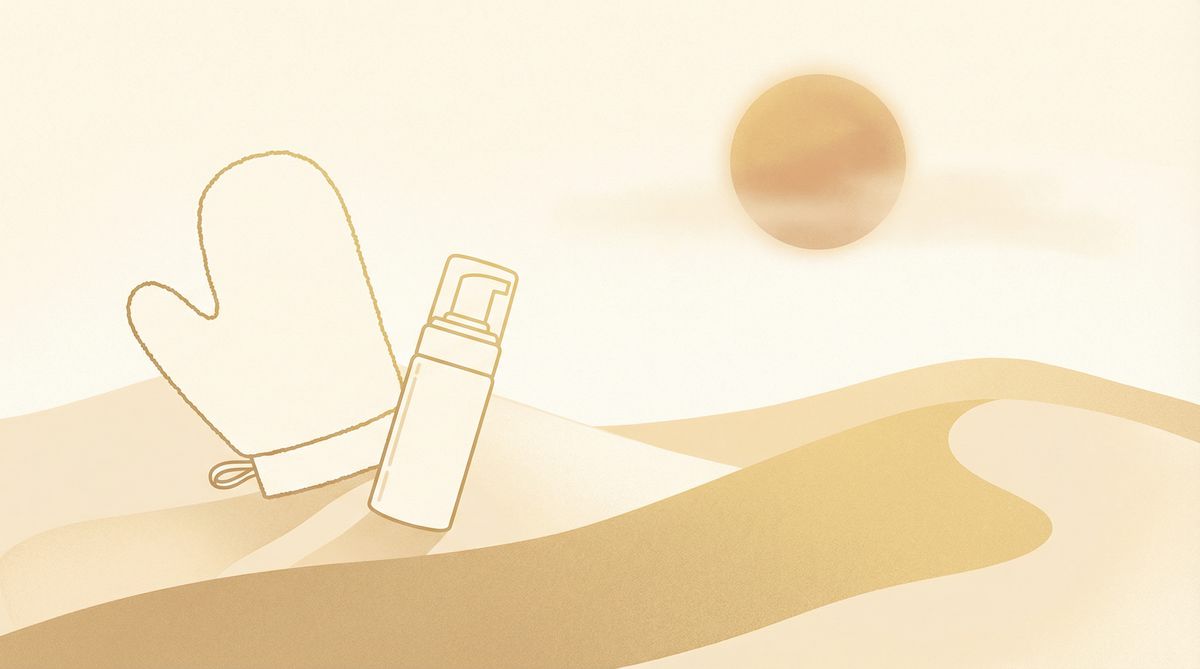
Types of fake tan products
Gradual tanners: The most beginner-friendly option. These are regular moisturizers with a small amount of DHA. Apply daily and color builds over 3-5 days. Almost impossible to mess up, and if you go too dark, just stop applying and it fades in a few days. Perfect for maintaining a base or for people who are nervous about self tan.
Mousse: The most popular format for a reason. It applies evenly with a mitt, dries quickly, and gives visible results in one application. Most people can achieve a natural tan in 4-8 hours with a good mousse. The guide color (the immediate tint you see) lets you see where you've applied, preventing missed spots.
Tanning drops: Mix with your moisturizer for customizable color. More drops = darker. Fewer drops = more subtle. Excellent for the face and for people who want complete shade control. The learning curve is slightly steeper (too many drops = too dark), but once you dial in your ratio, it's incredibly natural.
Spray: Good for hard-to-reach areas (back, shoulders). Some find sprays less even than mousse unless you have practice. Best used in combination with other formats rather than as your only product.
Water/mist: Ultra-lightweight, dries fast, good for light-to-medium color. Less likely to transfer onto sheets or clothes. Great for people who hate the sticky feeling of mousse or lotion.
How to choose the right shade
Fair skin: Go for "light" or "medium" shades. Products labeled "light-medium" or "natural glow" are your safest bet. Going for "ultra dark" on fair skin is how you end up looking orange — the contrast is too extreme for it to look natural.
Medium skin: "Medium" to "dark" shades work well. You've got more range to play with. Consider your undertone — olive skin does better with products that have green or olive undertones. Warmer skin works with golden formulas.
Darker skin: "Dark" to "ultra dark" shades add depth and glow. Focus on products that enhance rather than dramatically change your shade. Look for formulas specifically designed for deeper skin tones — they'll have the right DHA concentration and undertones.
When in doubt: Start lighter. You can always do a second coat or switch to a darker shade next time. Going too dark first time is much harder to fix than going a shade too light.
Application tips for the most natural result
Even the best product needs good technique:
Exfoliate 24 hours before. Remove dead skin for even absorption. Focus on rough areas: elbows, knees, ankles, hands, feet. This is the number one step for natural-looking fake tan.
Use a mitt. Always. Bare hands = orange palms and streaks from finger marks. A velvet mitt gives the most even application.
Less on danger zones. Use whatever's left on the mitt (not a fresh pump) for elbows, knees, ankles, hands, and feet. These areas have more texture and absorb more product, going darker than everywhere else.
Blend the edges. Wherever the product stops (wrists, ankles, neckline), blend outward with a damp beauty blender or cloth. Harsh edges look fake immediately.
Wait before dressing. Let the product dry for at least 10 minutes before putting on loose, dark clothing. White or tight clothes before it's dry = transfer stains and streaks.
For the complete step-by-step application guide, check how to self tan without looking fake and self tan hacks.
Making your fake tan last
Moisturize daily. This is the single biggest factor. Hydrated skin holds DHA color longer because it sheds slower. Apply after every shower and before bed.
Avoid long hot showers. Hot water accelerates exfoliation, stripping your tan faster. Lukewarm, shorter showers preserve color.
Pat dry, don't rub. Aggressive toweling removes the top layer of skin (and your tan) faster.
Touch up with drops. As your tan starts fading (usually day 4-5), add a couple of tanning drops to your moisturizer to maintain color and extend the life of your application.
A good fake tan, properly applied and maintained, looks indistinguishable from a natural tan. It's all about the prep, the product quality, and the aftercare. Use TanAI for tracking your tanning schedule (natural and self tan), and for more product and technique tips, explore our how to look tan guide and how to tan guide.
Know your skin before you shop
The single best thing you can do before buying a fake tan is understand your skin. Different skin types react differently to DHA, and the shade that looks perfect on your friend might look completely wrong on you. Our skin type quiz identifies your Fitzpatrick type, which directly maps to which self-tan shades and formulations work best for your specific skin tone and undertone.
Fair skin (Types I-II) should stick to light and medium shades with olive or green undertones to avoid the orange curse. Medium skin (Types III-IV) has the most flexibility — medium to dark shades in most formulas look natural. Darker skin (Types V-VI) should look for dark or ultra-dark products specifically formulated for deeper tones, with DHA concentrations high enough to actually show on your skin.
If you also tan naturally alongside your fake tan routine, our tanning calculator helps you plan sun sessions that complement your self-tan color rather than conflicting with it. And our vitamin D calculator is useful for anyone who uses fake tan partly to avoid UV — it shows whether you're getting enough sun-derived vitamin D or if you might want to supplement.
Fake tan for different situations
Not every fake tan occasion calls for the same approach. Here's how to match your method to the moment:
Everyday maintenance: Gradual tanners or tanning drops mixed into your daily moisturizer. Low effort, low risk, builds and maintains a subtle natural warmth. Apply every 2-3 days to keep a consistent base. This is the approach most real-life "always tan" people use.
Special events: Full mousse or spray application 24-48 hours before the event. This gives the color time to fully develop and any minor imperfections time to be corrected. Do a practice run at least a week before any major event — never try a new product for the first time the night before something important.
Beach vacations: Apply fake tan 2-3 days before departure so it looks natural by the time you arrive. Then maintain with natural sun during the trip (with SPF, always). The fake tan gives you a head start so you're not starting from pale on day one. This hybrid approach — fake tan base plus natural sun — produces the most convincing results of any method.
Winter glow: Tanning drops in your face moisturizer plus a gradual tanner on your body, applied once or twice a week. Just enough to maintain a subtle warmth without looking out of place in winter. Pair with warm-toned makeup and the effect is natural and seasonally appropriate.
Quick fixes: Tinted body lotions or spray bronzers that wash off in the shower. Zero commitment, instant color for a night out. These don't stain like DHA products and are perfect for people who want the option without the obligation. Just be careful in rain or around white furniture.
For technique tips that apply to every situation, review our self tan hacks guide. And for complementary products like tanning oils and aftercare, check our best tanning products and tanning oil guide. A good fake tan, chosen and applied well, is indistinguishable from the real thing. That's not a compromise — it's a skill.