Self tanning is an art, and like any art, there are tricks of the trade that separate a decent result from a flawless one. Whether you are a self tan veteran or a total newbie, these hacks will upgrade your technique and help you avoid the most common mistakes.
The overnight moisturizer trick
The night before you apply self tanner, slather on a heavy moisturizer all over your body. Focus extra on dry areas like elbows, knees, ankles, and feet. Then sleep in it. By morning, your skin will be deeply hydrated and smooth, which means the self tanner will apply more evenly. This is especially important in winter when skin tends to be drier.
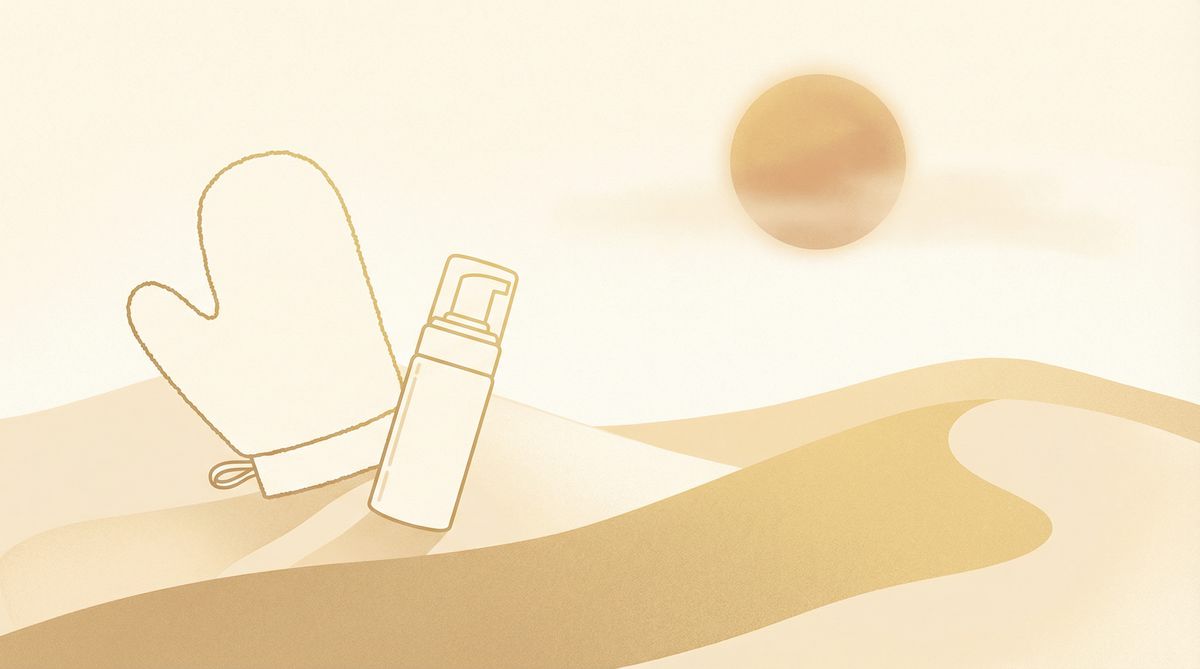
In the morning, take a lukewarm shower (no hot water), gently exfoliate with a mitt, and pat dry. Do not apply any moisturizer or product before the self tanner, except a thin barrier of regular lotion on the really dry spots (elbows, knees, between fingers). This prep hack alone makes a massive difference in the final result.
Mix self tanner with moisturizer for a lighter look
If you are nervous about going too dark or want a more subtle, natural look, mix your self tanner with an equal amount of regular moisturizer before applying. This dilutes the DHA so the color develops lighter and more gradually. You get a soft, sun-kissed glow instead of an obviously tanned look. It is also way more forgiving of application mistakes because streaks are less visible at a lighter shade.
This is a great hack for your face especially. Mix a few drops of self tanner into your facial moisturizer and apply normally. The result is a natural warmth that looks like you just spent a weekend outside.
Use a kabuki brush for your face
Applying self tanner to your face with a mitt can be tricky because the mitt is big and your face has lots of contours. Instead, try a large kabuki makeup brush. Pump a small amount of mousse onto the brush and buff it into your face in circular motions. The brush gives you much more control and blends beautifully around your nose, forehead, and jawline.
For more face-specific tips, check our face tanning guide.
Barrier cream is your best friend
Before applying self tanner, apply a thin layer of regular moisturizer or barrier cream to areas that tend to absorb too much product: elbows, knees, ankles, wrists, between fingers, around your ears, and along your hairline. These dry or creased areas soak up DHA like a sponge and end up way darker than the rest of you.
The barrier cream trick creates a thin layer that prevents over-absorption, so these tricky areas match the rest of your skin. It is simple but it eliminates some of the most common self tanning complaints.
Apply in front of a fan
Self tanner needs to dry before you get dressed or touch anything, and waiting around can be boring and risky (sweating while waiting is a streak factory). Set up a fan in your bathroom and stand in front of it after applying. The airflow dries the product faster and prevents it from pooling in creases.
This is especially helpful in summer when you might sweat just from standing still after a shower. Three to five minutes in front of a fan before getting dressed can save your sheets and your tan.
The old toothbrush trick for hands and feet
Hands and feet are the hardest areas to self tan because they have lots of creases, dry skin, and bony areas that grab product. Here is the hack: after applying self tanner to your arms and legs with a mitt, use an old, clean toothbrush to blend small amounts of product onto your hands and feet. The small bristles get into the spaces between knuckles and toes without over-depositing.
For hands specifically: wash them after applying to the rest of your body, let them dry, then lightly blend a tiny amount of diluted self tanner (mixed with moisturizer) over the backs of your hands with the toothbrush. Skip the palms entirely.
Use micellar water for quick fixes
Micellar water is a self tanner's best friend for fixing mistakes while the product is still developing. Did you get too much on your hands? Swipe with micellar water. Streaky spot? Gently wipe with a micellar-soaked cotton pad. Dark blotch forming? Micellar water lightens it right up.
Keep a bottle and some cotton pads nearby during and after application. Catching mistakes early (within the first hour) is much easier than trying to fix fully developed color later.
Layer thin coats instead of one thick one
One thick coat of self tanner almost always looks worse than two thin coats. A single heavy application is more likely to streak, look uneven, and develop unevenly because of product pooling. Instead, apply a thin first coat, let it develop for 6 to 8 hours, shower, then assess. If you want more depth, apply a second thin coat the next day.
This layering approach gives you much more control over the final shade and produces more natural-looking results. It also makes it easier to fix any uneven areas between coats.
Dark sheets and loose clothing
After applying self tanner, put on loose, dark clothing. Tight clothes can rub product off or create lines and patches. Dark colors prevent visible staining (the guide color in most self tanners can transfer). If you are developing overnight, put an old dark towel on your pillow and wear loose dark pajamas.
The tea bag trick for orange tones
If your self tanner looks a bit orange after developing, brew a strong cup of black tea, let it cool, and apply it over the orange areas with a cotton pad. The tannins in the tea can help neutralize the orange and give a more natural brown tone. It is an old trick but it genuinely works in a pinch.
Exfoliate strategically when fading
Self tan fades from the outside in, meaning the outermost layer of dead skin sheds first, taking the DHA color with it. This can look patchy if you do not manage it. When your tan starts fading unevenly (usually day 4 to 5), do a gentle exfoliation to even everything out, then reapply a thin coat if you want to extend the color.
For removing a self tan entirely, a long warm bath followed by an exfoliating mitt does the trick. For stubborn spots, check our guide to removing a tan.
Use a guide-color product
If you are not already using a self tanner with a visible guide color (temporary bronzer that washes off in the shower), switch to one. Being able to see exactly where you have applied and where you have missed makes application so much easier. It is the difference between painting by numbers and painting blind.
One more hack worth mentioning: knowing your skin type helps you choose the right self-tanner shade. Fair skin looks best with light to medium formulas, while darker skin can go straight for the deeper shades. Take our skin type quiz to find out exactly which shade range suits you.
Self tanning gets easier every time you do it. These hacks speed up the learning curve and help you avoid the mistakes that give self tan a bad reputation. For the full application technique, revisit our self tanning guide. And for product picks, our best tanning products roundup has tried-and-tested recommendations. Remember, a self tan is not sun protection, so always use SPF 30 when you head outside, even if you look bronzed.
Timing your self-tan for events
If you have a specific event, party, or vacation coming up, timing your self-tan application is crucial. Apply your self-tanner two days before the event, not the day before. This gives the DHA time to fully develop, lets you shower off the guide color, and gives you a full day to assess the results and make any touch-ups if needed. Applying the day before is risky because you might not love the result and you will not have time to fix anything.
For really important events like weddings or formal occasions, do a trial run one to two weeks before to test the product and see how it develops on your specific skin. Everyone's skin chemistry is slightly different, and a product that looks amazing on your friend might pull slightly orange on you. Better to find that out on a random Tuesday than the night before your event.
Self-tanning in different seasons
Self-tanning in summer versus winter requires different approaches. In summer, your skin is already warmer and slightly more hydrated from humidity, so self-tanners tend to develop faster and more evenly. You might need less product per application and a lighter shade to avoid going too dark. In winter, your skin is drier, more likely to have rough patches, and generally paler. This means extra exfoliation and moisturizing during prep is essential, and you might need a slightly warmer-toned product to avoid looking flat against your winter skin tone.
If you are layering self-tanner with a real sun tan during summer, use a gradual formula rather than a full-strength mousse. The gradual approach lets you control exactly how much depth you add without overshooting. For tips on combining methods, check our guide to mixing sun and self-tan.
Troubleshooting the most common self-tan disasters
Even with perfect technique, things sometimes go wrong. Here are the quick fixes for the most common problems. Orange palms: Scrub with a mixture of baking soda and lemon juice, then rinse. For prevention, always wash your hands immediately after application. Dark knees and elbows: Apply a thick moisturizer to these areas before your next application. To fix existing dark spots, a sugar scrub followed by moisturizer brings them back to normal. Streaks on legs: A gentle exfoliating mitt in a warm shower evens things out within one to two days. Patchy fading: Rather than trying to fix each patch, exfoliate everything evenly and reapply a fresh thin coat for a reset.
Understanding your skin type helps prevent many of these issues in the first place. Drier skin types need more prep, while oilier skin types might find that certain product formats work better. Take our skin type quiz to identify your type and tailor your self-tanning routine accordingly.