Your First Self-Tan Doesn't Have to Be a Disaster
We've all seen the horror stories — orange hands, streaky legs, patchy knees. It's enough to scare you off self-tanning forever. But here's the truth: most self-tan disasters come from skipping prep or using the wrong technique, not from the products themselves. If you follow a few basic steps, your first self-tan can look genuinely beautiful. Promise.
Self-tanning works by using an ingredient called DHA (dihydroxyacetone) that reacts with the amino acids in your outer skin layer to create a brown color. It's not actually a dye or stain — it's a chemical reaction that develops over 6-8 hours. Understanding this helps you understand why prep matters so much: the more even and smooth your skin surface is, the more even the reaction will be.
Prep Is Everything (Seriously)
Start 24 hours before you plan to apply. Exfoliate your entire body in the shower using a scrub or exfoliating mitt. Focus on rough, dry areas — elbows, knees, ankles, wrists, and the tops of your feet. These spots have thicker skin that grabs more DHA, which is why they turn orange if you don't prep them. After exfoliating, moisturize everywhere and let it fully absorb before going to bed.
On application day, don't apply any lotions, oils, deodorant, or perfume before self-tanning. These create barriers that make the tan develop unevenly. If you need to shave, do it at least 12 hours before (the night before is perfect). Shaving right before self-tanning can cause the product to seep into open pores and create a spotted look.
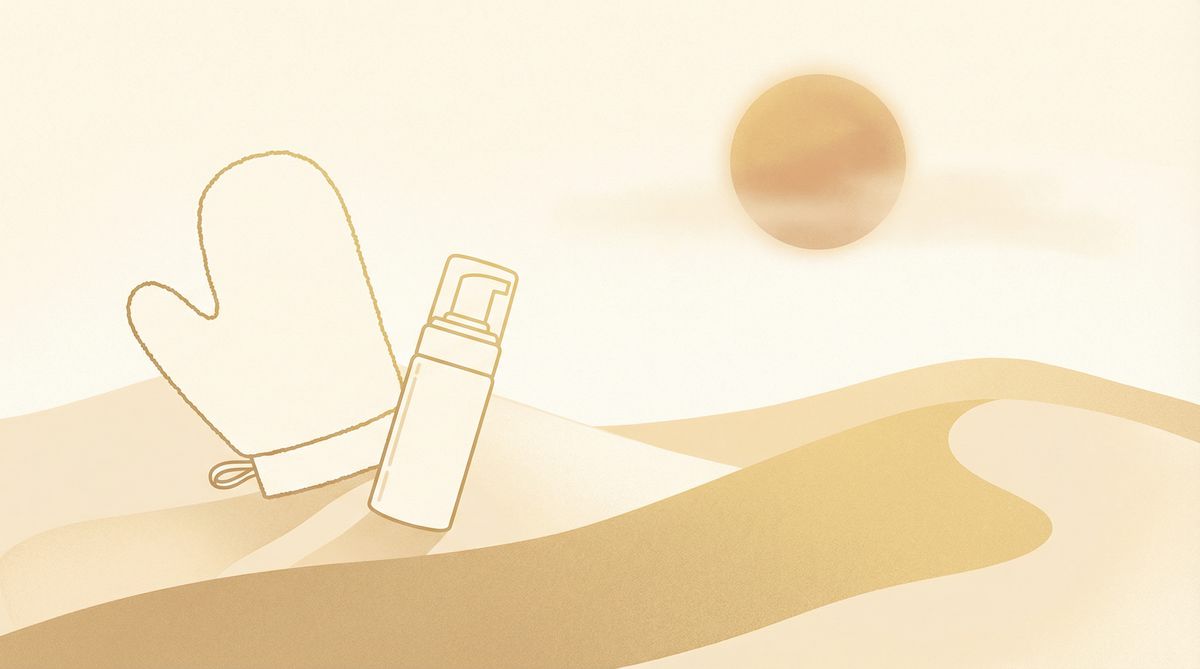
What You Need
You don't need a million products. Here's the starter kit: a self-tanning mousse or lotion (mousse is the easiest for beginners because it goes on evenly), a tanning mitt (absolutely essential — do not apply with bare hands), and a lightweight moisturizer for blending. That's it. Our fake tan product guide has specific recommendations, but for your first time, any well-reviewed mousse will work.
If you're nervous about going too dark, start with a gradual tanning lotion instead. These build color over 2-3 applications, so you have way more control. You can stop when you hit the shade you want. Brands like Jergens, Dove, and St. Tropez make great gradual options.
The Application Technique
Put on the mitt. Pump product onto the mitt, not directly onto your body. Start from the bottom — feet first, then legs, then hips. Work in sections and use long, sweeping strokes. Go upward on your legs to avoid streaks. Use less product as you move over joints (knees, elbows, ankles) — these areas grab extra color.
For your torso, pump fresh product onto the mitt and apply in gentle, even strokes. Blend into your neck but use a very light touch. Arms next — same technique, long strokes, less on inner elbows and wrists. Wash your hands immediately after each section, then put the mitt back on for the next area. This prevents orange palms.
For your face: either skip it your first time (use bronzer instead) or mix a tiny amount of self-tanner with your moisturizer for a subtle, blendable glow. These self-tan hacks have more face-specific tips.
Common Beginner Fears (And Why They Are Overblown)
First-time self-tanners worry about a lot of things, and most of those worries are based on horror stories rather than reality. Let's address the big ones.
"I'll look orange." Modern self-tanners are formulated to develop naturally on most skin tones. The "orange" reputation comes from early formulas from decades ago. Today's products use refined DHA that produces olive and brown tones rather than orange. If you choose a shade appropriate for your skin type and do not over-apply, orange is extremely unlikely.
"Everyone will know it's fake." With proper prep and application, a good self-tan is genuinely hard to detect. The people who look obviously fake usually skipped exfoliation, applied unevenly, or chose a shade way too dark for their natural tone. Start with one shade up from your natural color and nobody will suspect a thing — they will just think you look really healthy.
"It will be streaky." Streaks happen when product is applied unevenly, usually because of dry patches or rushed application. If you exfoliated the night before and use a mitt with steady, overlapping strokes, streaks are very unlikely. And even if you get a small streak, it is easily fixable with a damp washcloth within the first hour.
The Waiting Game
After applying, let yourself air dry for at least 10 minutes before putting on loose, dark clothing (the color guide can transfer onto light fabrics). Don't shower, sweat, or get wet for at least 6-8 hours. Most people apply before bed and shower in the morning. Wear loose long sleeves and pants to bed if you're worried about sheets — or use old dark sheets.
When you shower, use just water the first time. No soap, no scrub. Pat dry — don't rub. Your tan will continue to develop for another few hours after that first shower. The final color you see about 12-16 hours after application is your result.
If Something Goes Wrong
Streaks? Dampen a washcloth and gently buff the streaky area. If caught early, this usually smooths it out. Orange hands? A scrub of baking soda and lemon juice lightens them. Too dark overall? Exfoliate in a warm bath — the tan will lighten over the next day or two. Our guide to fixing bad tans covers every scenario.
For patchy knees or elbows, apply a thin layer of moisturizer over those spots next time before self-tanning. The moisturizer dilutes the DHA and prevents it from concentrating in rough areas. This one trick alone eliminates most beginner problems.
Choosing the Right Product for Your Skin Type
Not all self-tanners work the same on every skin tone, and choosing the wrong shade or formula is one of the most common beginner mistakes. Take our skin type quiz first to identify your Fitzpatrick type — this determines which self-tanner shade and formula will give you the most natural result.
Very fair skin (types I-II): Start with "light" or "fair-to-medium" formulas. These contain a lower concentration of DHA, so the color develops more subtly. You can always build up with multiple applications, but you cannot undo a too-dark first application easily. Gradual tanners are your safest bet for the first few tries.
Medium skin (types III-IV): You have the most flexibility. "Medium" formulas work beautifully, and you can graduate to "dark" once you are comfortable with the technique. Mousse formulas tend to give the most even results on medium skin because the color guide helps you see where you have applied.
Darker skin (types V-VI): Look for "dark" or "ultra-dark" formulas. Some brands now specifically formulate for deeper skin tones — these tend to have adjusted DHA concentrations and color guides that show up on dark skin. Avoid cheap formulas that can look orange or ashy on deeper tones. Brands like St. Moriz, Bondi Sands, and Isle of Paradise have good options for darker skin.
Whatever your skin type, always do a patch test 24 hours before your first full application. Apply a small amount on your inner arm, let it develop overnight, and check the color in natural light. This tells you exactly how the product looks on your specific skin before you commit to your whole body.
Maintaining Your Self Tan Between Applications
Getting a great self-tan is only half the battle — keeping it looking good for as long as possible is the other half. Good maintenance can extend your tan from three days to a full week, which means fewer applications and less product used overall.
Moisturize daily. This is the single most important maintenance step. Self tan fades when your outer skin cells shed, and dry skin sheds faster. Apply a rich, oil-free moisturizer every morning and night. Focus on areas that tend to dry out and fade first: elbows, knees, ankles, and hands.
Shower smart. Lukewarm water, gentle cleanser, minimal time. Long hot showers strip moisture from your skin and accelerate fading. Pat dry instead of rubbing — rubbing physically removes tanned skin cells. Avoid chlorinated pools and saltwater for the first 24 hours after applying.
Top up strategically. Around day 3-4, when your tan starts looking a bit faded, mix a small amount of gradual self-tanner into your daily moisturizer. This extends the color without requiring a full reapplication. It is a subtle boost that keeps you looking fresh between full applications.
If you are also building a natural sun tan alongside your self-tan, use TanAI to coordinate both. The app helps you plan UV sessions on days when your self-tan is fresh (so you look great at the beach) and schedule reapplications on rest days when you are staying inside. The tanning calculator factors in your skin type so your UV sessions complement rather than complicate your self-tan schedule.
Building Confidence
Your first self-tan might not be perfect, and that's completely fine. Each time you do it, you'll get better at the technique, learn how your skin responds, and figure out which products you like. By your third or fourth application, it'll feel as natural as doing your makeup. Start light, practice the technique, and build from there.
Our complete self-tan guide and self-tan vs spray tan comparison can help you figure out the best approach for your lifestyle. And if the at-home thing just isn't clicking, a professional spray tan is always a great option for special occasions while you practice your technique at home. If you also want to combine self-tan with natural sun tanning, TanAI helps you plan your UV sessions so you build color from both angles.