Not everyone has easy access to a beach, a pool, or even a decent yard. Maybe you live in an apartment. Maybe the weather isn't cooperating. Maybe you just don't feel like going anywhere. That doesn't mean your tanning goals have to wait. An at-home tan routine can be just as effective as any outdoor setup — you just need to know what you're working with and how to make the most of it.
Whether you're catching sun from your balcony, using self-tan products in your bathroom, or mixing both approaches, here's how to build a routine that works from the comfort of your own space.
Option 1: Tanning at home with natural sun
Got a balcony, patio, rooftop, or even a window that gets direct sunlight? You can absolutely tan at home with natural UV. The sun doesn't care whether you're at the beach or on your fire escape.
Check the UV first. Just because you're at home doesn't mean you can skip this. The UV index in your area determines everything — how long to stay out, how much SPF you need, and whether it's even worth it today. TanAI gives you real-time UV for your location so you can plan your home sessions like a pro.
Set up your spot. You want direct sunlight, not filtered through glass (regular window glass blocks most UVB rays, which are the tanning rays). If you're on a balcony, position your towel or lounger where the sun hits directly. If you're in a yard, find a spot that gets consistent sun for your planned session time.
Follow the same rules as outdoor tanning. SPF 30+, rotate every 15-20 minutes, set a timer, moisturize after. The sun doesn't know you're at home — it hits just as hard. Don't fall into the trap of thinking "it's just my balcony" and skipping protection.
Time of day matters. Morning sun (before 10 AM) and afternoon sun (after 3 PM) give you moderate UV that's ideal for tanning. If your balcony only gets midday sun and UV is high (6+), keep sessions shorter or add more SPF.
Home sun tanning works best if you're consistent. Set a regular time — maybe morning coffee on the balcony turns into morning coffee and 20 minutes of sun. Make it a habit and the results add up fast.
Option 2: Self tanning at home
No sun access? No problem. Self tan gives you color without UV, and doing it at home means you control every variable. Here's the full routine:
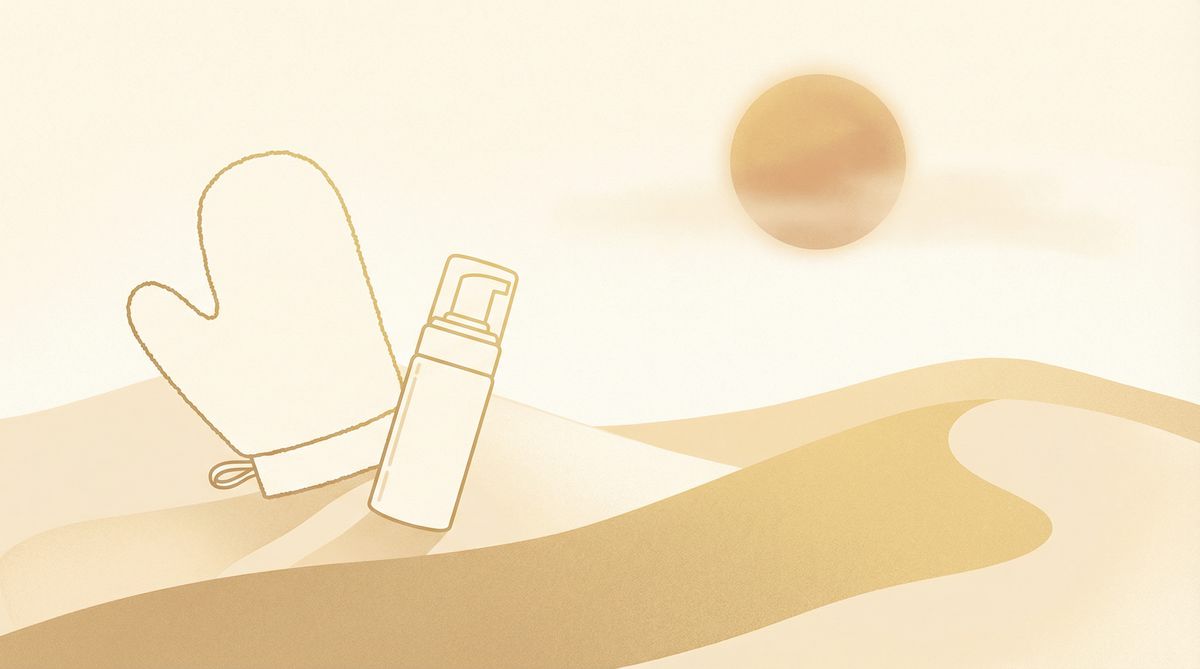
Prep (the day before): Exfoliate in the shower with a scrub or mitt. Focus on rough areas — elbows, knees, ankles, wrists. These grab more product and go dark or streaky if you skip this step. Shave or wax 24 hours before applying (not the same day — freshly shaved skin can react weirdly to DHA).
Application day: Shower and make sure skin is completely dry. Don't apply deodorant, perfume, or body lotion (except a thin layer of moisturizer on very dry spots like elbows and knees to prevent over-absorption).
Apply in sections. Use a tanning mitt — seriously, don't skip this. Start from the bottom and work up: feet, lower legs, thighs, torso, arms, then face. Use long, circular strokes. Blend at joints. Use less product on face, hands, wrists, and ankles. For our complete application technique, check our self tan guide.
Develop time: Leave it on for 6-8 hours (or follow the product directions). Don't shower, sweat, or get wet during this time. Wear loose, dark clothing if you need to do stuff around the house.
Reveal: Rinse off the guide color (the initial dark shade) with lukewarm water. Don't use soap on the first rinse. Pat dry gently. Your real color will continue developing for another 12-24 hours.
Option 3: The hybrid approach (best results)
This is what the people with the best year-round tans actually do: combine natural sun when available with self tan when it's not.
During sunny weeks: Tan naturally using the sun routine above. Build real melanin color that looks like it comes from within (because it does).
Between sun sessions or during cloudy stretches: Use a gradual self tanner or tanning drops mixed into your moisturizer to maintain and even out your color. This fills in any pale spots and keeps things looking fresh.
During winter or extended cloudy periods: Switch fully to self tan with weekly applications to maintain a base level of color. This way, when the sun does come back, you're not starting from zero.
The hybrid approach means you're never dramatically pale and never relying too heavily on UV. It's the smartest way to stay golden all year. Check out our fake tan product guide for recommendations on what to use.
Building your weekly at-home routine
Here's a practical schedule that covers both approaches:
Monday: Morning sun session (20-30 minutes, depending on UV and skin type). Moisturize after.
Tuesday: Rest day. Moisturize well. Drink plenty of water.
Wednesday: Sun session if UV is favorable. If not, apply gradual self tanner in the evening.
Thursday: Rest day. Gentle exfoliation in the shower to keep skin smooth.
Friday: Sun session (if available) or self tan application for the weekend.
Saturday-Sunday: Enjoy your glow. Moisturize daily. Sun sessions are a bonus if the weather cooperates.
This schedule gives your skin rest days between UV sessions and keeps color consistent with self-tan fill-ins. Adjust based on your schedule and conditions.
At-home tanning mistakes everyone makes
Tanning through windows. Regular glass blocks UVB (the tanning rays). You'll feel warm but you won't tan. You might still get UVA exposure, which doesn't tan efficiently but does age skin. Always tan in direct sunlight, not through glass.
Skipping SPF at home. The sun doesn't know you're on your balcony instead of a beach. UV is UV. Protect yourself.
Applying self tan to unwashed skin. Deodorant, lotion, perfume — all of these create barriers that make self tan streak or react weirdly. Start with clean, dry skin.
Going too dark too fast with self tan. Start with one coat of a medium shade. See how it develops. You can always go darker next time. Starting too dark is harder to fix.
Not moisturizing between sessions. Whether you're sun tanning or self tanning, dry skin is your enemy. It tans unevenly, fades patchy, and doesn't hold color. Moisturize every single day, not just on tanning days.
For more routine ideas and tips on getting the most from your at-home sessions, explore our tanning tips guide and how to tan guide. And use TanAI to track your UV conditions so you know exactly when to step outside versus when to reach for the self tanner.
Maximizing your space for the best results
Your tanning setup at home matters more than you think. A cluttered balcony where you're half in shade doesn't cut it. Take ten minutes to optimize your spot: clear anything that casts a shadow during your planned session time, lay down a clean towel or mat, and position yourself so you can rotate easily without bumping into furniture or railings.
If you're using a backyard, consider the sun's path. Morning sun comes from the east, afternoon from the west. If your yard only gets afternoon sun, plan accordingly — don't waste a morning session in a spot that's shaded until noon. Use our tanning calculator to figure out exactly how long to stay out based on the UV in your area.
Reflective surfaces can boost your results. A light-colored wall behind you, a white sheet on the ground, or even a reflector panel bounces UV back toward your body, helping you tan more evenly — especially the undersides of arms and chin that typically stay pale. Just be careful: reflected UV adds to your total exposure, so shorten your session by a few minutes if you're using reflective setups.
Skincare routine between at-home sessions
What you do between tanning sessions is just as important as what you do during them. Your at-home routine should include daily moisturizing — not just on tanning days, every day. Hydrated skin tans more evenly, develops color faster, and holds it longer. Choose a moisturizer without retinol or AHAs on the days surrounding your tanning sessions, as these ingredients increase sun sensitivity.
Take our skin type quiz if you haven't already — it'll tell you exactly what kind of care your skin needs between sessions and help you understand why certain products work better than others for your specific type.
If you're combining sun and self tan in the hybrid approach, timing matters. Apply self tanner at least 12 hours before your next sun session. This gives the DHA time to fully develop and prevents weird reactions between fresh self-tan product and UV. And always exfoliate gently before switching between methods to ensure even absorption.
Don't forget about nutrition as part of your between-session routine. Foods rich in beta-carotene — carrots, sweet potatoes, mangoes, leafy greens — support melanin production from the inside. Pair that with adequate water intake (2-3 liters daily during tanning season), and your skin becomes a better canvas for color. Check out our tips for a perfect tan for more on the nutrition-tan connection.
Finally, if you're managing vitamin D alongside your tanning goals, our vitamin D calculator can help you understand how much you're producing during your at-home sessions. It's a useful way to see the health benefits of your sun time, not just the cosmetic ones.